Azure Network Security Groups (NSGs) are the first line of defence for your virtual network traffic — and they’re tested heavily on the AZ-104 exam. You just deployed a VM in Azure. Ten minutes later, it’s exposed to the entire internet because you forgot one rule. This guide covers 8 Azure Network Security Groups best practices that will help you configure NSGs correctly, avoid common pitfalls, and pass the Microsoft Azure Administrator certification with confidence.
Master Azure Network Security Groups to secure your virtual networks and ace the AZ-104 exam. These 8 NSG best practices cover everything from default rules to N-tier segmentation.
What Are Azure Network Security Groups?
An Azure Network Security Group is a stateful packet filter that controls inbound and outbound traffic to Azure resources. Think of Azure Network Security Groups as a basic firewall that sits at the subnet or network interface (NIC) level.
NSGs use a 5-tuple approach to evaluate traffic:
- Source IP address
- Source port
- Destination IP address
- Destination port
- Protocol (TCP, UDP, ICMP, or Any)
Each NSG contains security rules with priorities ranging from 100 to 4096. Lower numbers mean higher priority. Azure processes rules in order until it finds a match — then stops evaluating.
Azure Network Security Groups: Default Rules Explained
Every NSG comes with three default inbound rules and three default outbound rules. You cannot delete these, but you can override them with higher-priority custom rules.
Default inbound rules:
- AllowVNetInBound (65000): Allows all traffic within the virtual network
- AllowAzureLoadBalancerInBound (65001): Allows health probes from Azure Load Balancer
- DenyAllInBound (65500): Blocks all other inbound traffic
Default outbound rules:
- AllowVNetOutBound (65000): Allows traffic to the virtual network
- AllowInternetOutBound (65001): Allows outbound internet traffic
- DenyAllOutBound (65500): Blocks all other outbound traffic
Best Practice 1: Apply NSGs to Subnets, Not NICs
You can associate an Azure Network Security Group with a subnet, a NIC, or both. For most scenarios, applying Azure Network Security Groups at the subnet level is the better choice.
Why subnet-level NSGs win:
- Easier to manage — one NSG covers all resources in that subnet
- Reduces administrative overhead
- Consistent security posture across the subnet
- New VMs automatically inherit the subnet’s NSG rules
Reserve NIC-level NSGs for exceptions where a specific VM needs stricter or different rules than the rest of the subnet.
Best Practice 2: Use Service Tags Instead of IP Addresses
Hard-coding IP addresses in your NSG rules creates maintenance nightmares. Azure service IPs change regularly, and manually tracking them is error-prone.
Service tags solve this problem. They represent groups of IP prefixes that Azure manages automatically. When Microsoft updates the IPs behind a service, your rules stay current.
Common service tags for Azure Network Security Groups:
- VirtualNetwork: All VNet address spaces, including peered networks
- AzureLoadBalancer: Azure’s health probe IP (168.63.129.16)
- Internet: All public IP space outside your VNet
- AzureCloud: All Azure datacentre public IPs (can be region-specific like AzureCloud.WestEurope)
- Storage: Azure Storage service endpoints
- Sql: Azure SQL Database endpoints
# Allow HTTPS from Azure Front Door using service tag
Source: AzureFrontDoor.Backend
Destination: VirtualNetwork
Port: 443
Action: Allow
Best Practice 3: Group VMs with Application Security Groups (ASGs)
Application Security Groups let you group VMs by workload instead of IP address. This makes NSG rules cleaner and more scalable.
Imagine you have 20 web servers. Without ASGs, you’d need to list all 20 IPs in your rule. With ASGs, you create a “WebServers” group, assign each VM to it, and reference the group in your rule.
Benefits of ASGs:
- Zero-touch scaling — new VMs get rules automatically when assigned to an ASG
- Self-documenting rules — “WebServers to DatabaseServers” is clearer than IP ranges
- No rule changes needed when IPs change
Best Practice 4: Follow Deny-by-Default, Permit-by-Exception
The DenyAllInBound default rule already implements this principle. Your job is to not weaken it.
Start with the assumption that no traffic should flow. Then add specific allow rules only for traffic your application actually needs. This minimises your attack surface.
What this looks like in practice:
- Allow HTTPS (443) from the internet to your web tier
- Allow port 1433 from web tier to SQL tier only
- Block everything else
Resist the temptation to add broad “Allow Any” rules just to get things working. Troubleshoot the specific port you need instead.
Best Practice 5: Plan Your Rule Priority Ranges
NSG rules are processed in priority order (100–4096). Planning your priority ranges in advance prevents conflicts as you add more rules.
Recommended priority structure:
- 100–199: Emergency block rules (e.g., block a malicious IP immediately)
- 200–999: Allow rules for application traffic
- 1000–1999: Allow rules for management traffic (RDP, SSH, monitoring)
- 2000–2999: Deny rules for specific blocked traffic
- 3000+: Reserved for future expansion
Leave gaps between rules. If rule 200 allows web traffic, start the next rule at 210 — not 201. This gives you room to insert rules later.
Best Practice 6: Enable Azure Network Security Groups Flow Logs
You can’t secure what you can’t see. Azure Network Security Groups flow logs capture metadata about every connection passing through your network security groups.
Flow logs record:
- Source and destination IPs
- Ports and protocols
- Whether traffic was allowed or denied
- Byte and packet counts
Send these logs to Azure Monitor Log Analytics and enable Traffic Analytics. You’ll get visual insights into traffic patterns, identify anomalies, and spot blocked connections that shouldn’t be blocked.
From my training experience, many AZ-104 candidates skip flow logs during hands-on practice. Don’t make that mistake — the exam expects you to know how to configure and interpret them.
Best Practice 7: Audit and Clean Up Stale Rules
Azure Network Security Groups rules accumulate over time. That “temporary” rule you added six months ago? It’s still there, potentially exposing resources.
Build a review habit:
- Audit NSG rules quarterly
- Remove rules for decommissioned applications
- Verify that broad allow rules are still necessary
- Check that IP ranges match current infrastructure
Use Azure Policy to enforce NSG standards across subscriptions. You can create policies that require specific deny rules, block overly permissive rules, or mandate flow log enablement.
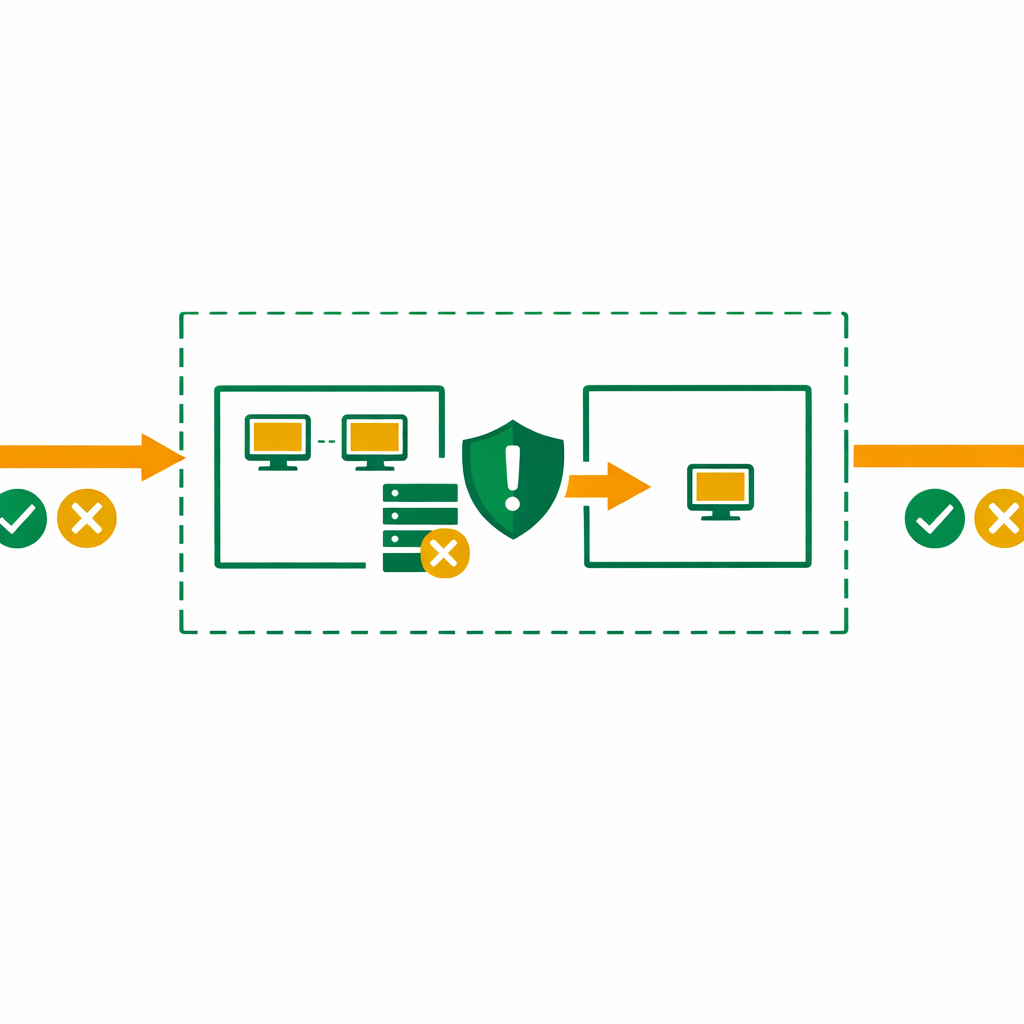
Best Practice 8: Use NSGs for N-Tier Segmentation
For multi-tier applications (web, business, data), create separate subnets with their own NSGs. Each tier should only accept traffic from the tier above it.
Example 3-tier architecture:
- Web subnet NSG: Allow 443 from Internet, deny all else inbound
- Business subnet NSG: Allow traffic only from Web subnet on specific ports
- Data subnet NSG: Allow traffic only from Business subnet on port 1433
This prevents lateral movement. If an attacker compromises a web server, they can’t reach the database directly.
Common Azure Network Security Groups Mistakes
NSGs vs Azure Firewall: When to Use Each
Azure Network Security Groups are free and work at the subnet/NIC level. They’re ideal for basic traffic filtering within a VNet.
Azure Firewall is a managed, paid service with advanced features like application-level filtering, threat intelligence, and FQDN filtering. Use it when you need centralised control across multiple VNets or require deep packet inspection.
In most AZ-104 scenarios: NSGs handle intra-VNet segmentation, while Azure Firewall (if present) handles traffic leaving the VNet.
AZ-104 Exam Tips for Azure Network Security Groups
Virtual networking makes up 30–35% of the AZ-104 exam. Azure Network Security Groups questions appear frequently. Here’s what to focus on:
- Know the default rules and their priorities (65000, 65001, 65500)
- Understand rule processing order for subnet vs NIC associations
- Be able to troubleshoot connectivity issues using effective security rules view
- Know when to use service tags vs ASGs vs explicit IPs
- Understand the difference between NSGs and Azure Firewall
Practice in the Azure portal. Create a VNet, add subnets, associate NSGs, and test connectivity between VMs. The hands-on experience is what makes these concepts stick.
Master Azure Administration with Expert Training
Bhanu Prakash’s AZ-104 course covers NSGs, VNets, RBAC, and every exam objective with hands-on labs. Build real cloud skills, not just theory.
Official Resources
- Azure Network Security Groups Overview — Microsoft Learn
- How NSGs Filter Traffic — Microsoft Learn
- Azure Network Security Best Practices — Microsoft Learn
- AZ-104 Study Guide — Microsoft Learn